
The Ultimate 10-Step Website Redesign Checklist for 2025


Embarking on a website redesign is a significant investment of time, resources, and strategy. It's far more than a simple cosmetic update; it's a fundamental re-evaluation of your digital presence, user experience, and business objectives. A successful redesign can redefine your brand, supercharge lead generation, and create a seamless experience for your customers. However, without a structured approach, the project can quickly derail, leading to missed deadlines, budget overruns, and a final product that fails to meet expectations or, even worse, hurts your existing search engine rankings.
- A structured website redesign checklist prevents costly mistakes and keeps your project on track from planning to launch.
- User research, stakeholder alignment, and performance audits should happen before any design work begins.
- SEO migration planning and thorough QA testing are critical to preserving traffic and rankings after launch.
This is where a comprehensive website redesign checklist becomes indispensable. It transforms a complex, multifaceted undertaking into a series of clear, actionable steps. Think of it as your strategic roadmap, guiding you from initial discovery and planning to design, development, and a successful launch. For marketing leaders, this checklist ensures that key performance indicators are defined and tracked. For business owners, it provides a framework to align the new site with core goals like increasing leads for a home service business in El Dorado Hills or ensuring ADA compliance for a healthcare provider.
This guide will walk you through 10 critical phases, ensuring no detail is overlooked. We will cover everything from conducting stakeholder interviews and auditing your current analytics to implementing technical SEO, performing rigorous quality assurance testing, and monitoring post-launch performance. By following this detailed checklist, you will mitigate risks, keep your team aligned, and build a powerful digital asset that not only looks modern but also drives tangible business growth. Let's dive into the essential steps for a flawless website redesign.
1. Conduct Stakeholder Interviews & Goal Definition
The first, non-negotiable step in any successful website redesign checklist is to define what success actually looks like. A redesign without clear, agreed-upon goals is like building a house without a blueprint. It’s destined for costly revisions and missed objectives. This initial phase involves gathering crucial insights from key stakeholders across your organization, from the C-suite to the front-line customer service team.
Why This is the Critical First Step
Stakeholder interviews align the entire project around a unified vision. The marketing team might prioritize lead generation, while the IT department is focused on security and performance. Customer service may highlight common user frustrations that the current site fails to address. By collecting these diverse perspectives, you build a comprehensive picture of the business objectives, technical constraints, and user needs that the new website must satisfy. This process prevents scope creep, ensures buy-in from all departments, and sets the foundation for measurable success.
For example, when Airbnb undertook its major 2014 redesign, it began with deep stakeholder alignment around a “mobile-first” objective. This core goal, established early on, guided every subsequent design and development decision, leading to a more cohesive and effective final product.
How to Implement This Stage
To effectively gather and synthesize this information, follow a structured approach:
- Schedule Departmental Sessions: Hold separate meetings with executives, sales, marketing, and IT. This allows each group to speak freely about their specific goals and pain points without being influenced by other departments.
- Use a Consistent Template: Prepare a structured interview questionnaire to ensure you ask the same core questions to each group. This makes it easier to compare and synthesize feedback later.
- Document Everything: Record all feedback in a centralized repository, like a shared document or project management tool. This becomes your project's source of truth.
- Define SMART Goals: Convert the feedback into Specific, Measurable, Achievable, Relevant, and Time-bound (SMART) goals. Instead of "improve user experience," a SMART goal would be "reduce the checkout process from five steps to three, decreasing cart abandonment by 15% within six months of launch."
Getting formal sign-off on these defined goals from all key stakeholders before moving to the research and design phases is essential. This crucial alignment is the bedrock of a successful project. To dive deeper into this foundational step, explore our comprehensive guide on the website discovery process.
2. Conduct User Research & Persona Development
After defining your internal business goals, the next critical step in a website redesign checklist is to understand the people who will actually be using the site: your audience. A redesign that ignores user needs is an expensive gamble. This stage involves collecting both qualitative and quantitative data to build a deep, empathetic understanding of user behaviors, motivations, and pain points.

Why This is the Critical Second Step
User research grounds your design decisions in real-world evidence, not internal assumptions. It bridges the gap between what your company thinks users want and what they actually need. By synthesizing this research into detailed user personas and journey maps, you provide the entire project team with a clear, consistent reference point for every design choice, from navigation structure to call-to-action button copy. This user-centric approach ensures the final product is intuitive, effective, and valuable to your target audience.
For example, Mailchimp's redesign strategy was heavily guided by detailed personas of small business owners. Understanding their time constraints and technical comfort levels led to a simplified interface and more intuitive workflow, directly addressing the core needs identified during research.
How to Implement This Stage
A multi-faceted approach to user research provides the most robust insights. Combine different methods to get a complete picture:
- Analyze Quantitative Data: Start with your existing website analytics (e.g., Google Analytics) and heatmap tools. Identify high-traffic pages, common user paths, and drop-off points to understand current behavior.
- Conduct Qualitative Interviews: Schedule one-on-one interviews with 8-12 users per key audience segment. Ask open-ended questions to uncover their goals, frustrations, and motivations related to your products or services.
- Synthesize into Personas: Consolidate your findings into 3-5 primary user personas. Each persona should represent a key user group and include their goals, challenges, and key characteristics. Building on this, it's vital to define your Ideal Customer Profile to ensure the redesign truly resonates with your most valuable audience.
- Map the User Journey: Create visual user journey maps that outline the steps each persona takes to achieve a goal on your site. This helps identify key touchpoints and opportunities for improvement in the user experience.
Sharing these finalized personas and journey maps across the organization ensures that everyone, from developers to content writers, is building for the same user.
3. Audit Current Website Performance & Analytics
Before you can build a better website, you must understand exactly how your current one is performing. A comprehensive performance and analytics audit is the diagnostic phase of your website redesign checklist. It involves a deep dive into your existing data to establish benchmarks, uncover what’s working, identify what’s broken, and guide your redesign strategy with objective evidence rather than assumptions.
Why This is a Critical Pre-Design Step
Jumping into a redesign without this data is like a doctor prescribing treatment without a diagnosis. You risk "fixing" things that aren’t broken while ignoring critical issues that are costing you conversions and frustrating users. This audit provides a baseline to measure the new site's success against. It reveals your most valuable pages, identifies where users drop off, and highlights technical issues like slow page speed or broken links that are hurting your SEO and user experience.
For instance, a performance audit by Microsoft revealed that nearly 40% of their traffic was coming from mobile devices, yet the experience was poor. This single data point became the driving force behind their successful mobile-first redesign, directly addressing their largest growing audience segment.
How to Implement This Stage
A thorough audit combines quantitative data with qualitative insights. Follow these steps to build a complete picture of your site's current state:
- Establish Baseline Metrics: Using tools like Google Analytics, document your key performance indicators (KPIs) over the last 6-12 months. This includes average session duration, bounce rate, conversion rates for key goals, and traffic sources.
- Identify High-Value Pages: Pinpoint your top-performing pages for traffic, conversions, and user engagement. These are the assets you must protect and enhance during the redesign.
- Analyze User Behavior: Use heatmaps and session recording tools to see how users actually interact with your site. Where do they click? How far do they scroll? Where do they get stuck?
- Conduct a Technical SEO Audit: Identify technical issues such as 404 errors, slow page speeds, poor mobile usability, and duplicate content. Documenting these problems is essential for ensuring the new site is built on a solid foundation.
This analytical process sets the stage for a data-informed design and helps you prioritize your efforts effectively. To get a head start on this crucial analysis, check out our guide on the comprehensive SEO discovery process.
4. Competitive Analysis & Benchmarking
Once you’ve defined your internal goals, the next step in your website redesign checklist is to look outward. You don’t operate in a vacuum, and your website won’t either. A thorough competitive analysis involves researching what your direct and indirect competitors are doing to understand industry standards, identify common user experience patterns, and pinpoint opportunities to differentiate your brand.
Why This is a Critical Research Step
Competitive benchmarking grounds your redesign strategy in market reality. It prevents you from creating a website that feels dated or misses key features that your target audience has come to expect. By systematically evaluating your competitors' strengths and weaknesses, you can identify gaps in the market, discover successful conversion strategies, and avoid repeating their mistakes. This research provides a crucial baseline for what’s working, enabling you to build a site that not only meets but exceeds industry standards.
For instance, when Notion was developing its "all-in-one workspace," it benchmarked against established tools like Evernote, OneNote, and Trello. This analysis revealed an opportunity to combine note-taking, project management, and databases into a single, flexible platform, which became its core differentiator and a key driver of its success.
How to Implement This Stage
A structured approach to competitive analysis ensures you gather actionable, rather than superficial, insights:
- Identify Competitors: Select 5-7 direct and indirect competitors. Direct competitors offer a similar product or service, while indirect competitors solve the same customer problem with a different solution.
- Create a Comparison Matrix: Use a spreadsheet to document key elements for each competitor. Track features, navigation structure, calls-to-action (CTAs), content strategy, and unique value propositions.
- Analyze User Flow and UI Patterns: Go through key user journeys on each competitor's site, like signing up for a demo or making a purchase. Document common UI patterns and note what feels intuitive or frustrating.
- Look for Gaps: Ask critical questions during your analysis. What pain points are competitors failing to address? Where is their user experience clunky? These gaps represent your opportunities to innovate and win over their customers.
This data provides a clear picture of the competitive landscape, ensuring your new design is not only modern and functional but also strategically positioned to outperform the competition.
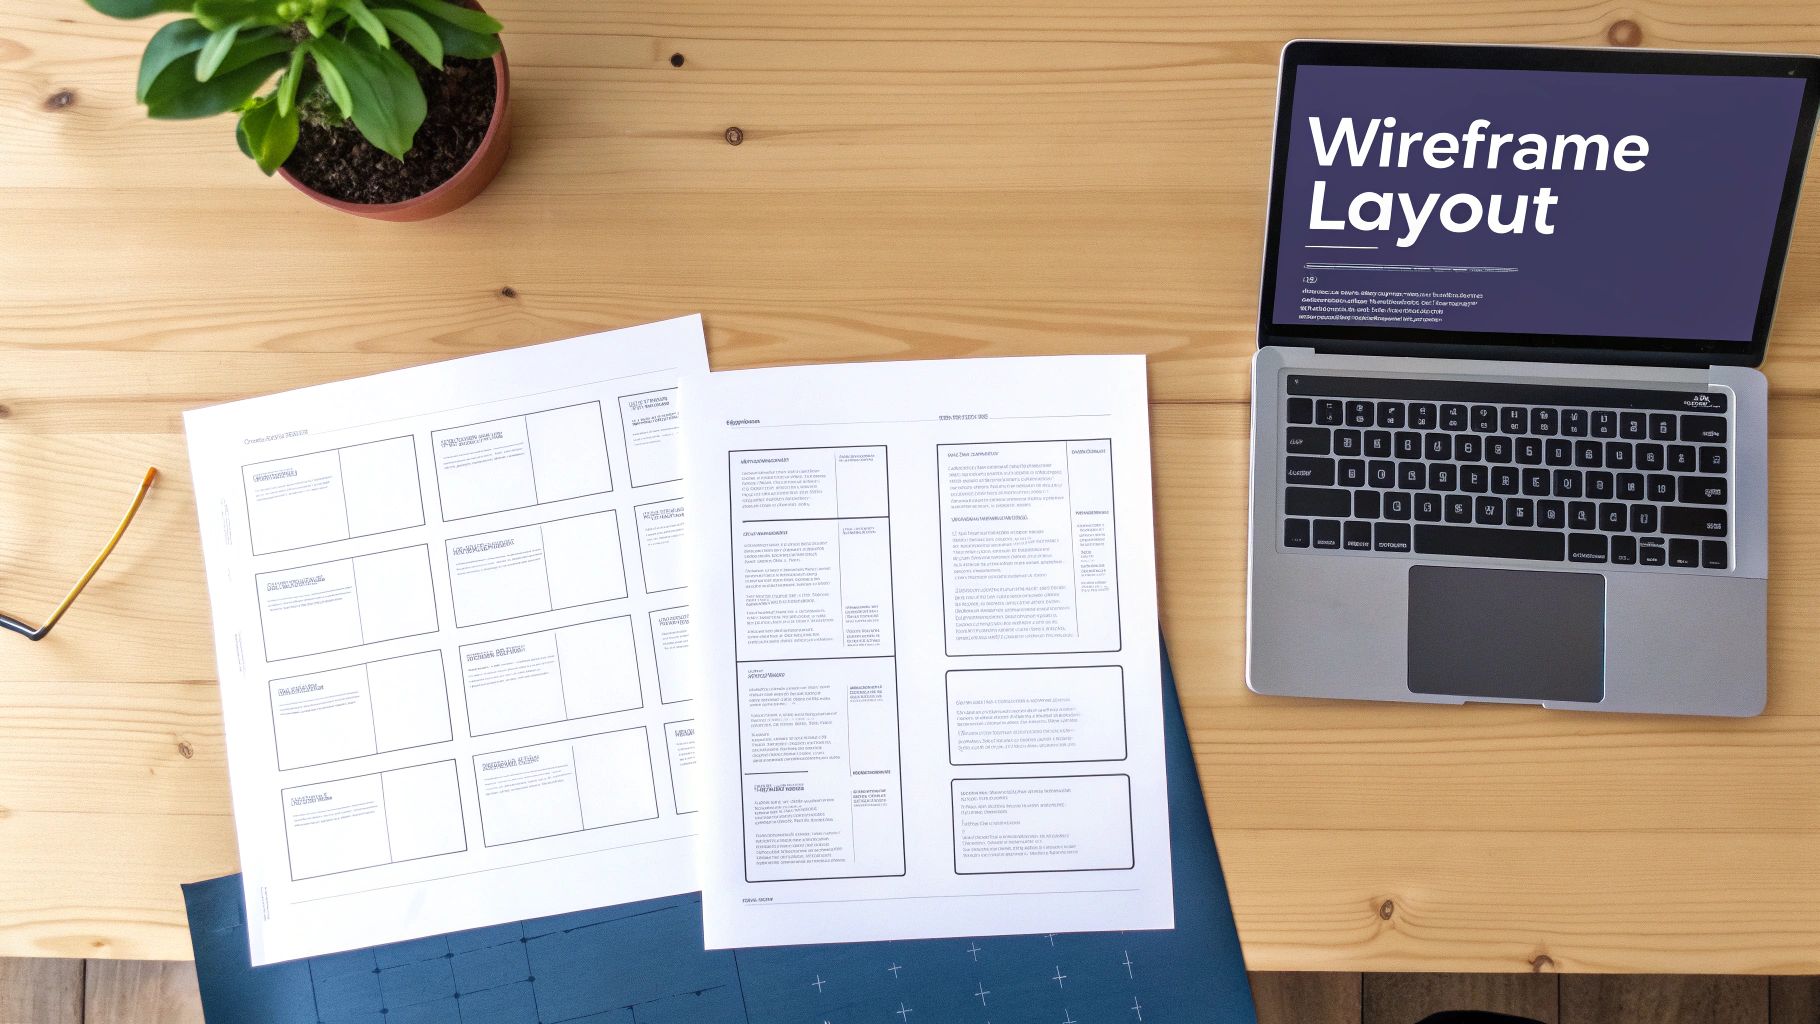
5. Create Wireframes & Information Architecture
Once you have defined your goals and audited your existing content, the next step in your website redesign checklist is to build the architectural blueprint. This involves creating wireframes and establishing the Information Architecture (IA), which are low-fidelity layouts that map out the structure, content hierarchy, and user flow of the new site. This is where you decide where content will live and how users will navigate to it, long before any colors or fonts are considered.
Why This is the Critical First Step
Wireframing focuses solely on functionality and structure, not aesthetics. By stripping away visual design, you can make critical decisions about usability and layout without distraction. This process ensures that the site's navigation is logical, the content is organized intuitively, and key user journeys are streamlined for maximum efficiency. It’s far cheaper and faster to rearrange grey boxes on a wireframe than to recode fully designed pages later in the project.
For instance, when Dropbox wireframed its user onboarding flow, the goal was to reduce friction and guide new users to the core value of the product as quickly as possible. By testing and refining these structural layouts, they created a seamless experience that significantly improved user activation rates.
How to Implement This Stage
A structured approach to wireframing and IA ensures a solid foundation for the visual design and development phases.
- Start with a Sitemap: Before individual page layouts, create a sitemap. This is a high-level flowchart that shows all the pages on your website and how they relate to one another, defining the primary navigation and overall structure.
- Sketch First, Digitize Later: Begin with low-fidelity paper sketches. This allows for rapid ideation and iteration without getting bogged down in software. Once the basic concepts are solid, move to digital wireframing tools.
- Focus on Structure, Not Design: Use simple shapes, placeholder text (lorem ipsum), and basic typography. The goal is to define the hierarchy of information, key calls-to-action, and functional elements on each page template.
- Annotate Everything: Add notes to your wireframes to explain functionality, interactive elements, and user flows. This provides crucial context for designers, developers, and stakeholders who will review the blueprints.
- Design for Mobile First: Create wireframes for different breakpoints (mobile, tablet, desktop), starting with the smallest screen. This forces you to prioritize essential content and ensures a better user experience across all devices.
6. Design Visual Mockups & Brand Integration
With the structural blueprint from wireframing in place, this stage breathes life and brand identity into your website. Visual mockups are high-fidelity, static representations of what the final site will look like, incorporating your brand’s color palette, typography, imagery, and other design elements. This step transforms the skeletal wireframes into a vibrant, pixel-perfect preview of the end-user experience.

Why This is a Critical Design Step
Visual mockups serve as the definitive design guide for developers and the final approval checkpoint for stakeholders before coding begins. They ensure brand consistency, establish the site's emotional tone, and allow you to test visual hierarchy and accessibility without writing a single line of code. Addressing visual or branding misalignments at this stage is exponentially cheaper and faster than fixing them post-development. This is a key part of any thorough website redesign checklist because it solidifies the visual direction and prevents costly revisions later.
For instance, Stripe’s website is a masterclass in brand integration. Its elegant, consistent visual treatment, from gradients to animations, is meticulously defined in its design system and executed flawlessly in its mockups before development, creating a seamless and trustworthy user experience.
How to Implement This Stage
To create effective visual mockups and ensure a smooth handoff to development, follow a systematic process:
- Build a Design System First: Before mocking up full pages, establish a comprehensive design system. Define atomic components like buttons, form inputs, and cards, as well as color palettes and typography rules. This ensures consistency and speeds up the design process.
- Use Realistic Content: Avoid using generic "lorem ipsum" text or placeholder images. Using real or highly realistic content in your mockups helps stakeholders visualize the final product accurately and reveals potential layout issues early on.
- Design for All User States: A website is dynamic. Your mockups should reflect this by showing designs for different states, such as empty states (e.g., an empty shopping cart), loading indicators, success messages, and error notifications.
- Prioritize Accessibility: During the visual design phase, test color contrast to ensure it meets at least WCAG AA standards. This makes your site usable for people with visual impairments and is a non-negotiable aspect of modern web design.
- Create Developer Specifications: Once mockups are approved, create a detailed design specification document. This "spec doc" outlines spacing, font sizes, color codes, and asset dimensions, providing developers with a clear and unambiguous guide for implementation.
7. Build Interactive Prototypes & User Testing
With wireframes approved and a visual direction established, the next phase is to transform static designs into dynamic, clickable experiences. Building interactive prototypes and conducting user testing is the bridge between design and development, allowing you to validate your assumptions and uncover usability issues before writing a single line of production code. This step is a cornerstone of any modern website redesign checklist, as it saves significant time and budget by catching problems early.
Why This is the Critical Next Step
A prototype simulates the final product's look, feel, and flow, giving stakeholders and real users a tangible model to interact with. This is where you can see if your meticulously planned user journeys actually work in practice. User testing reveals friction points, confusing navigation, or unclear calls-to-action that are often invisible to the project team. It’s about replacing guesswork with direct, observational data, ensuring the final website is intuitive and effective for its intended audience.
For example, when Spotify planned to roll out a new queue feature, they first tested interactive prototypes with a select group of power users. This early feedback allowed them to refine the functionality and interface based on real-world usage, ensuring a smoother, more successful public launch.
How to Implement This Stage
Effective prototyping and user testing require a structured, iterative approach to gathering and implementing feedback:
- Choose the Right Tool: Use prototyping software like Figma, Adobe XD, or Axure to create clickable prototypes that realistically simulate user flows.
- Create Realistic Scenarios: Develop test scripts based on your user personas and key business goals. For instance, a scenario might be: "You've landed on the homepage. Find and book a consultation for next Tuesday."
- Recruit Representative Users: Test with at least 5-8 users per round who match your target audience. This number, validated by Nielsen Norman Group research, is typically sufficient to uncover the most critical usability issues.
- Conduct Moderated and Unmoderated Tests: Use moderated sessions (in-person or remote) for deep, qualitative insights where you can ask follow-up questions. Use unmoderated tests for faster, quantitative data at a larger scale.
- Encourage "Think Aloud" Protocol: Ask participants to narrate their thoughts, actions, and frustrations as they navigate the prototype. This provides invaluable context behind their clicks.
- Document and Iterate: Record all sessions and compile findings into a clear, actionable report. Prioritize the most critical issues and iterate on the prototype before running another round of testing.
8. Develop Technical Requirements & Dev Handoff
Once the visual design is approved, the project transitions from creative vision to technical execution. This handoff is a frequent point of failure in a website redesign checklist, where beautiful designs are lost in translation, resulting in a final product that doesn't match the approved mockups. A successful handoff requires translating design specifications into a comprehensive technical blueprint that leaves no room for ambiguity.
Why This is a Critical Handoff Point
Without precise technical requirements, developers are forced to make assumptions about spacing, functionality, responsive behavior, and interactions. This guesswork leads to endless back-and-forth revisions, blown timelines, and a compromised user experience. A structured handoff process ensures that the design intent is preserved perfectly in the final code, creating a seamless bridge between the design and development phases. It transforms static images into a clear, buildable plan that aligns both teams.
For example, GitHub’s Primer design system includes exhaustive developer documentation. It provides not just visual components but also detailed implementation guidelines, code snippets, and accessibility notes. This level of detail ensures any developer can build features that are consistent with GitHub’s established standards, accelerating development and maintaining quality.
How to Implement This Stage
To ensure a smooth transition from design to development, create a robust handoff package:
- Create a Centralized Spec Document: Use tools like Figma’s "Inspect" mode, Adobe XD’s "Specs," or a dedicated platform like Zeplin. This document should detail typography, color codes, spacing values (margins/padding), and asset dimensions.
- Document Responsive Breakpoints: Clearly show how each component and layout should adapt at key breakpoints (mobile, tablet, desktop). Don't just provide static images; specify the fluid behavior between them.
- Define Interaction Logic: Document animations, hover states, and transitions with specifics on timing, easing, and properties. A simple "fade-in" is not enough; specify "fade-in over 300ms with an ease-out curve."
- Provide Production-Ready Assets: Export all icons, images, and logos in the correct formats (e.g., SVG for icons, optimized WebP for images) and resolutions needed for development.
- Schedule a Handoff Meeting: Walk the development team through the designs and technical specifications. This allows them to ask questions and clarify any potential issues before a single line of code is written, a crucial step in any website redesign checklist.
9. Implement SEO & Performance Optimization
One of the most significant risks in a website redesign is losing hard-earned search engine rankings and organic traffic. This step in our website redesign checklist is dedicated to ensuring your new site not only preserves its existing SEO equity but also enhances it through strategic technical optimization. A beautiful new design is ineffective if your audience can't find it.
Why This is the Critical First Step
Failing to address SEO during a redesign can be catastrophic, leading to broken links, lost rankings, and a sharp drop in organic traffic. Proactive optimization ensures a seamless transition for both users and search engine crawlers. This involves mapping old URLs to new ones, optimizing site speed, and ensuring all technical SEO elements are correctly configured. By focusing on performance and SEO from the start, you protect your most valuable marketing asset: your organic visibility.
For example, when HubSpot redesigned its blog, it implemented advanced structured data, which enhanced its appearance in search engine results pages (SERPs) with rich snippets, directly improving click-through rates. Similarly, BuzzFeed’s focus on Core Web Vitals during a redesign led to tangible ranking improvements due to a superior user experience.
How to Implement This Stage
To safeguard your traffic and improve performance, follow this structured optimization process:
- Create a Redirect Map: Before launch, meticulously map every old URL to its new equivalent. Use 301 (permanent) redirects to pass link equity from the old pages to the new ones. This is the single most important task for preserving your rankings.
- Optimize for Core Web Vitals: Use Google's PageSpeed Insights to test your new site's loading performance, interactivity, and visual stability. Address issues by compressing images (using modern formats like WebP), minifying CSS and JavaScript files, and enabling server-side caching and Gzip compression.
- Update On-Page SEO Elements: Ensure all pages have optimized meta titles, descriptions, and header tags. Review and update all internal links to point to the new URLs, preventing redirect chains and broken links.
- Implement Structured Data: Add schema markup to your pages to help search engines better understand your content. This can lead to rich snippets in search results, increasing visibility and click-through rates for products, articles, events, and more.
Properly managing this transition ensures you don't take a step backward in your digital marketing efforts. To learn more about building a strong foundation, explore our detailed guide to search engine optimization (SEO).
10. Quality Assurance, Cross-Browser Testing, Launch Plan & Performance Monitoring
The final pre-launch stage of any website redesign checklist involves rigorous testing and strategic planning. This phase is not just about finding bugs; it’s about ensuring the new site delivers a flawless, consistent, and fast experience for every user, regardless of their device, browser, or accessibility needs. A well-executed launch plan, backed by thorough QA, prevents day-one disasters and protects your investment.
Why This is the Critical Final Step
Rushing to launch without a comprehensive testing and deployment strategy is a recipe for failure. A single critical bug, a broken form on a popular browser, or a slow-loading page can immediately erode user trust, cost you conversions, and damage your brand reputation. This stage ensures that the website you've worked hard to build functions perfectly under real-world conditions. It validates all previous steps, from goal definition to development, and sets up a framework for post-launch success through continuous performance monitoring.
For instance, major tech companies like Microsoft and Airbnb invest heavily in this phase. Microsoft tests its web properties across older versions of Windows and browsers to serve its vast user base, while Airbnb's QA process involves testing on actual devices in multiple countries to ensure a seamless global experience before any major rollout.
How to Implement This Stage
To ensure a smooth launch and stable performance, integrate these testing and planning components into your process:
- Create a Master Testing Checklist: Document every test case, covering functionality (forms, buttons, links), design (responsiveness, visual consistency), and performance (load times, image optimization). This should also include testing with assistive technologies like screen readers to verify accessibility compliance.
- Prioritize Cross-Browser and Device Testing: Use your analytics data to identify the most common browsers and devices your audience uses and prioritize testing on them. Test on actual physical devices, not just emulators, to catch hardware-specific quirks, especially for mobile users on slower network connections.
- Develop a Staged Launch Plan: Don't just flip a switch. Start with a "soft launch" to an internal team or a small segment of users. This allows you to gather real-world feedback and fix issues before a global rollout. Facebook famously used this phased approach for its major 2020 redesign, minimizing risk.
- Prepare for Day One and Beyond: Ensure a rollback procedure is documented and tested in case of a catastrophic failure. Set up performance monitoring dashboards before launch to track Core Web Vitals, server uptime, and error rates from the moment the site goes live. Finally, brief your customer support team on all the new features and potential changes.
10-Point Website Redesign Checklist Comparison
| Task | 🔄 Complexity & Process | ⚡ Resource Requirements & Speed | 📊 Expected Outcomes | ⭐ Key Advantages / 💡 Ideal Use Cases |
|---|---|---|---|---|
| Conduct Stakeholder Interviews & Goal Definition | Moderate 🔄 — cross-team coordination, scheduling | Low–moderate resources; calendar-heavy, slower to start ⚡ | Aligned goals, documented KPIs, project constraints | ⭐ Prevents scope creep; ideal for new redesigns or unclear objectives 💡 |
| Conduct User Research & Persona Development | High 🔄 — recruitment, mixed-method analysis | High resources & time; tools + participant incentives required ⚡ | Validated personas, journey maps, prioritized features 📊 | ⭐ Reduces assumptions; ideal when user needs are unknown or evolving 💡 |
| Audit Current Website Performance & Analytics | Moderate 🔄 — data access, technical audits | Moderate resources; analytics + auditing tools, historical data needed ⚡ | Baseline metrics, quick wins, technical debt identification 📊 | ⭐ Data-driven baseline; ideal before redesigns or performance troubleshooting 💡 |
| Competitive Analysis & Benchmarking | Low–moderate 🔄 — desk research and synthesis | Low–moderate resources; market research time ⚡ | Benchmarking, design/feature insights, differentiation opportunities 📊 | ⭐ Speeds decisions; ideal for market positioning and feature scoping 💡 |
| Create Wireframes & Information Architecture | Moderate 🔄 — iterative layout and IA mapping | Low–moderate resources; designer time, simple tools ⚡ | Clear page structure, user flows, reduced rework in visual design 📊 | ⭐ Cheap to iterate; ideal early in design to validate structure 💡 |
| Design Visual Mockups & Brand Integration | High 🔄 — visual system and component creation | High resources; senior designers, asset creation, more time ⚡ | High-fidelity pages, design system, brand-consistent UI 📊 | ⭐ Establishes brand consistency; ideal for brand refreshes and dev handoff 💡 |
| Build Interactive Prototypes & User Testing | High 🔄 — prototyping + moderated/unmoderated tests | High resources; prototyping tools, user recruitment, multiple rounds ⚡ | Validated flows, usability issues uncovered, iterative improvements 📊 | ⭐ Catches costly UX issues early; ideal for critical flows and high-risk features 💡 |
| Develop Technical Requirements & Dev Handoff | High 🔄 — detailed specs, cross-team alignment | Moderate–high resources; engineering input, documentation tools ⚡ | Clear implementation guide, fewer dev questions, better estimates 📊 | ⭐ Reduces implementation errors; ideal for complex integrations and large teams 💡 |
| Implement SEO & Performance Optimization | Moderate–high 🔄 — redirects, CWV, structured data | Moderate resources; tooling and possible infra changes ⚡ | Maintained/improved rankings, faster load times, higher conversions 📊 | ⭐ Prevents organic traffic loss; ideal for migrations and SEO-critical sites 💡 |
| QA, Cross-Browser Testing, Launch Plan & Monitoring | High 🔄 — extensive testing, launch ops | High resources; testing platforms, 24/7 monitoring & support ⚡ | Stable rollout, cross-device consistency, incident readiness 📊 | ⭐ Minimizes post-launch incidents; ideal for major launches and high-availability sites 💡 |
From Checklist to Conversion: Your Next Steps
You have now journeyed through the comprehensive roadmap for transforming your digital presence. This extensive website redesign checklist is far more than a simple sequence of tasks; it is a strategic framework designed to build a powerful, user-centric, and high-performing online asset. By methodically progressing from initial stakeholder interviews and deep user research to meticulous quality assurance testing and a well-orchestrated launch, you have established the foundation for a website that not only looks exceptional but also achieves critical business objectives.
The journey, however, doesn't end when your new site goes live. In fact, the launch marks a new beginning. Your website is a dynamic tool, one that must evolve with your audience, your business, and the ever-changing digital landscape. Continuous monitoring, data analysis, and iterative improvements are not optional; they are essential components of long-term success.
Key Takeaways for Lasting Impact
As you move forward, keep these core principles at the forefront of your strategy:
- Strategy Before Structure: The most successful redesigns are born from clear goals and a deep understanding of user needs. The initial phases of discovery, from auditing your current site’s analytics to developing detailed user personas, are non-negotiable. Rushing past this stage is a direct path to a redesign that misses the mark.
- Data-Driven Decisions: Every choice, from the information architecture to the color of a call-to-action button, should be informed by data. Use analytics, user testing feedback, and competitive benchmarks to guide your design and development process, removing subjectivity and focusing on what truly works for your target audience.
- Accessibility is Not an Afterthought: Building an inclusive website that adheres to WCAG and ADA standards is a moral and legal imperative. More than that, it is a smart business decision that expands your audience and enhances the user experience for everyone. Integrate accessibility checks from the wireframing stage all the way through to final QA.
- SEO is an Integral Part of the Build: A beautiful website is useless if no one can find it. SEO must be woven into the fabric of your redesign. This includes everything from a strategic 301 redirect map and on-page optimization to ensuring lightning-fast page speeds and a mobile-first design. Neglecting SEO during a redesign can erase years of accumulated domain authority.
Turning Your Redesigned Website into a Growth Engine
Ultimately, a website redesign is an investment in growth. Its success is measured by its ability to attract, engage, and convert visitors into loyal customers. The detailed steps in this checklist are all designed to contribute to that final outcome. By focusing on a seamless user experience, clear messaging, and optimized performance, you are creating a platform that effectively guides users toward taking desired actions.
Understanding the specific tactics that drive these actions is your next critical step. To deepen your knowledge, exploring proven strategies from design experts can provide invaluable insights. Ultimately, the success of your redesign hinges on its ability to drive results, and understanding strategies to improve website conversion rates is paramount. This knowledge transforms your new website from a static digital brochure into a powerful conversion machine. Your new site is ready; now, it's time to make it work for you.
Feeling overwhelmed by the complexity of a website redesign? Let us handle the heavy lifting. The expert team at Site Igniters specializes in executing every phase of this checklist with precision, from data-driven strategy and accessible design to flawless development and post-launch SEO optimization. Contact Site Igniters today to build a website that not only meets your goals but ignites your growth.
Seth Sanders is the founder of Site Igniters, a digital marketing agency in El Dorado Hills, California.